Thursday, November 10, 2011

Tutorial - Texturing

I just finished a painting and was really happy with how the texture came out so I thought I'd share how I did it.

Click for larger images.


I should have some more stuff coming, I hope you got something out of this, see you next time :)

Saturday, October 22, 2011

Making Believable Grass

   Grass is one of the most important things in a game environment and adds immensely to the believability of the scene. Compare the following, the same scene with no grass or bushes and then with:


   Without grass it's easy to pick up the tell-tale signs that you're playing a game: you can see the sharp edges of the ground mesh, see the perfectly sharp edges where objects intersect the ground and each other, see the flat ground textures etc.
   I'll just go over some of the things I've learned while painting and creating grass in 3D.
Think of the grass and ground as a single object.
   You don't need to do this if you can make all of the grass with geometry, but that's a lot of geometry. So if you can't do that it means you're going to have to use a ground texture that looks like grass, the problem with this is that a simple flat texture looks flat, so to add depth you add grass geometry.
   When making the grass it's important to see it and the ground as a single object, not two separate ones. In relation to the ground texture the grass is simply breaking up the “flatness” of it and tricking you into believing that you're seeing real grass instead of a computer's representation of it. Therefore your grass and ground texture should compliment each other.
   This brings me to the second point:
The grass texture should be different but extremely similar to the ground texture.
   This may at first sound confusing, so let me explain what I mean. You don't want the grass to be so different it looks like you stuck a few textured planes on the ground (which is pretty much what's happening), yet you also don't want them to be so similar that the grass melts into the ground as if invisible, that would defeat the whole purpose.
   You need to make the grass look as though it belongs, it should match (although not perfectly) the saturation and value of the ground beneath it while being visible. The best way to do this is to have the base of the grass join the ground as seamlessly as possible yet have the top different enough to be visible. This will give the best results.
Final touches
   Toward the end you can add some extra details that will make the grass look a lot more interesting and realistic as well.
  • Ambient Occlusion – this is a tricky one, you want enough for the effect to be visible but not so much the grass sticks out. Carefully darken the base of the grass and test to see the results. You'll be able to get away with a bit here but go too far and the grass will start to separate from the ground.
  • Lighten ends – lightening the ends of the grass strands can really help make it pop out from the background, you want the grass to be grounded and blend into the ground texture but you certainly don't want the top to be lost. This will help add depth.
  • Colour variation – real grass is not made of a single colour, there are dead strands, strands that have subsurface light scattering going on, disease spots, reflections and all other manner of things that influence the colour. Putting in some of these colours makes it much more believable. Good colours to use are yellows, oranges, browns and greys.
   Below you can see the grass I used for the previous scene as well as the ground texture it was designed to sit on:


   I hope you got something out of this, good luck :)

Wednesday, October 19, 2011

Nude Modeling

This morning I did my first nude modeling for life drawing, which I've wanted to do for ages now. I was fine until about 24 hours before, when it finally sank in that I'd be naked in front of a bunch of people, at which point I was a little nervous. That was almost entirely replaced by worry that I wouldn't be able to come up with enough interesting poses and be standing there awkwardly. In the end I wasn't really all that embarrassed or nervous about the nudity (although my heart jumped a bit when it was time to start).

It was pretty good though, I went all out on the 2 minute poses and I'm pretty tried now. In an effort not to replicate the previous pose I got gradually more ridiculous until about pose 5/10 where I was "squatting", balancing on one foot with the other on my shin, arched over supported by one arm with the other over my head. I only just held that and was shaking by the end so I eased off a bit and remembered to alternate between difficult and "resting" poses.

I also got given a really great drawing of myself which is awesome. Overall it was a really cool experience, definitely glad I did it. I'd do it again :)

Saturday, October 15, 2011

Location concepts

Some concepts for some locations, I'm planning to build one of them in 3D as a kind of showroom.


I'm planning to do some more tutorial posts soon, stay tuned :)

Sunday, October 9, 2011

Greece Updates - Rigs of Rods

Well you may have seen some concept art for the Greek terrain I was working on, here are some screenshots showing it nearly finished.


And here is a video showing the track in action:


The terrain is now almost finished, some final tweaking still needs to be done and then it will be released.

Wednesday, August 24, 2011

Four 20min Studies

Here are some studies I did today, again from moreguefile references. Having a time limit really helps, you can't over-detail and you can't drop out halfway through :)


Thursday, July 28, 2011

A study of light and shadow

A few days ago I came up with an idea for a study. I wanted to know how to paint various lights and also how to paint the value and colour of shadows correctly.

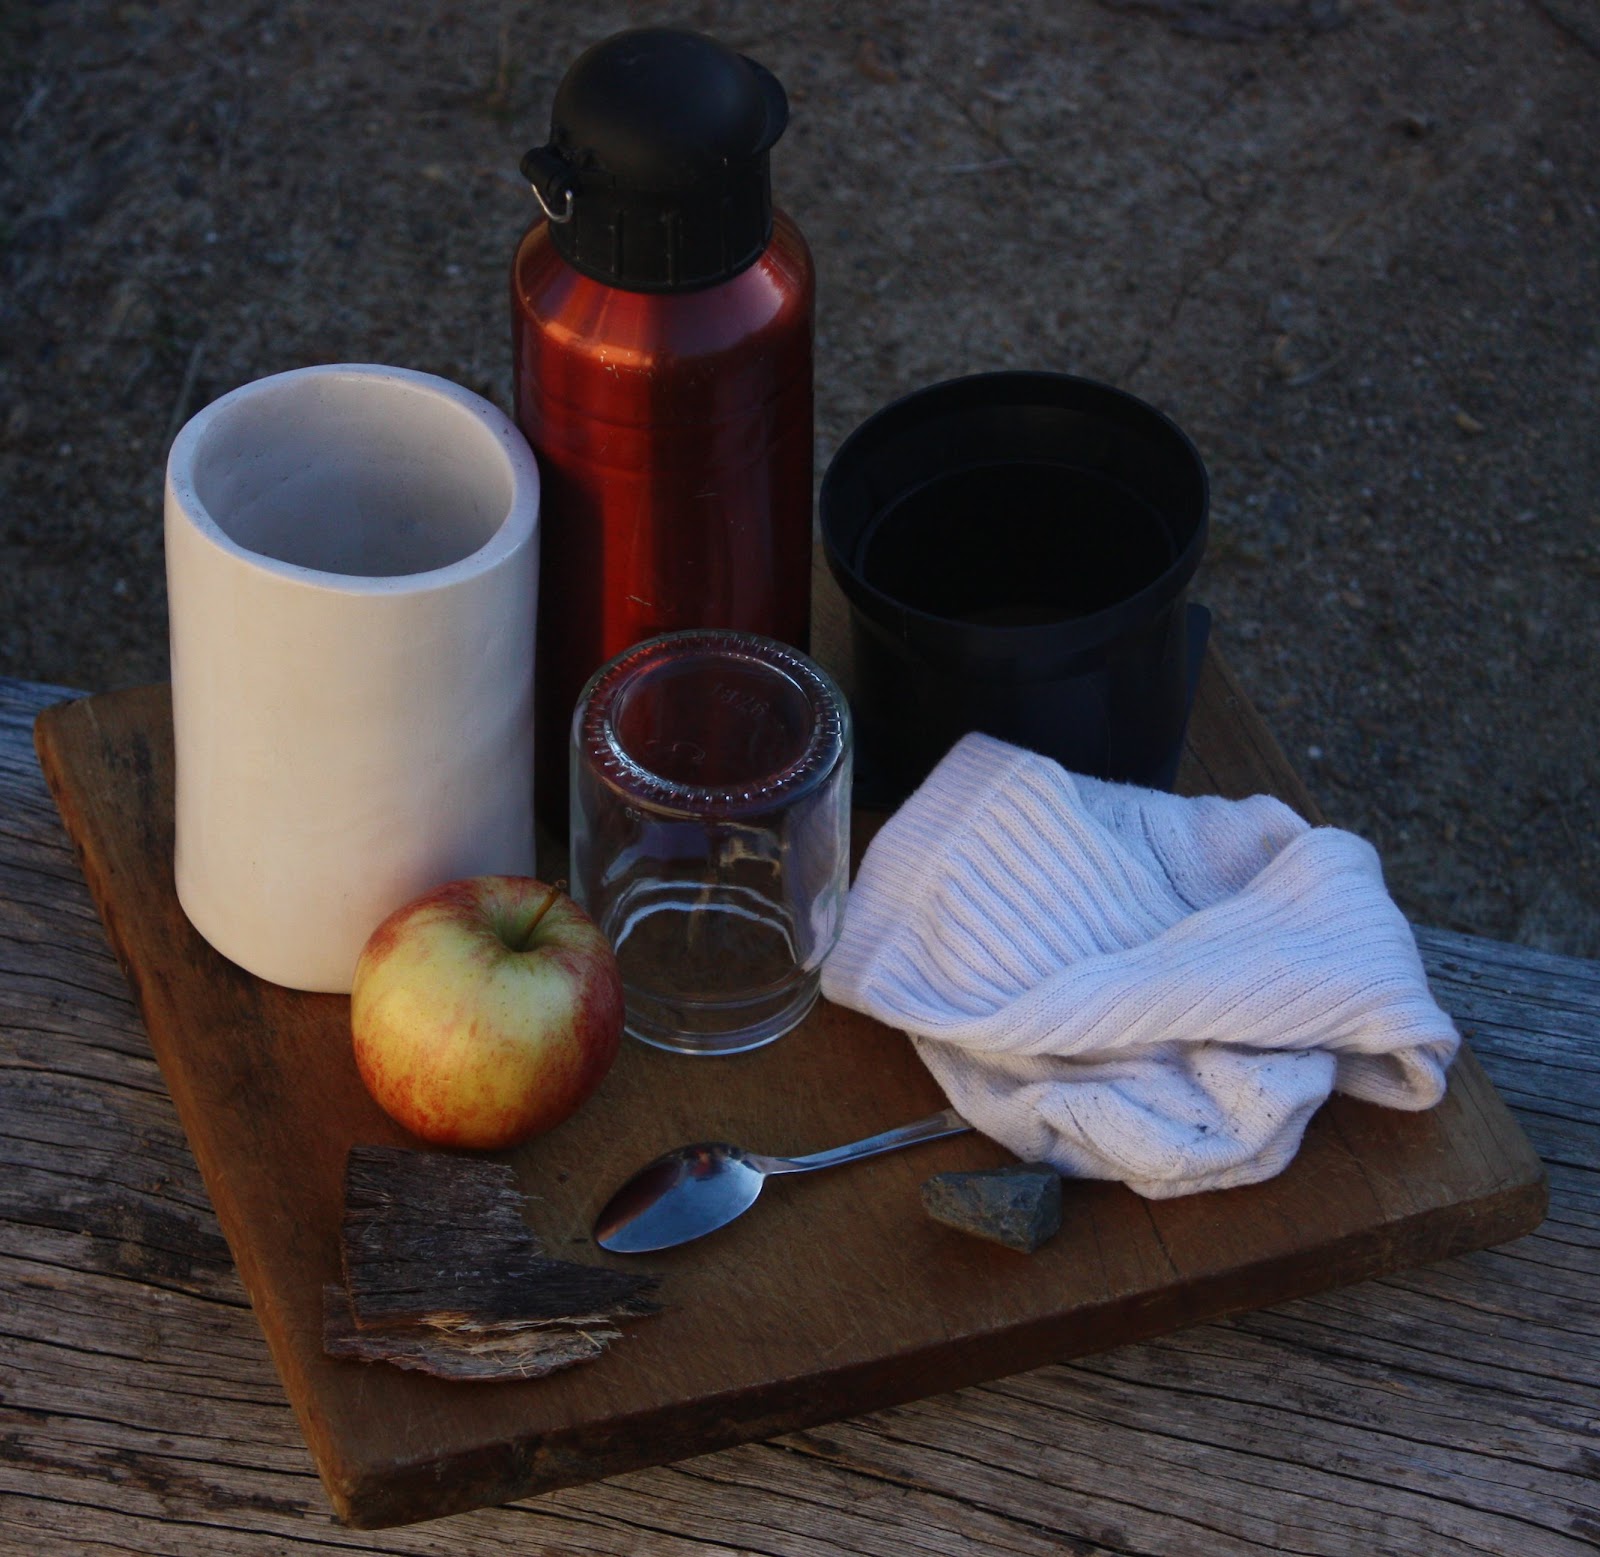
I grabbed a wooden board and threw a bunch of different objects on it, an old white sock, drinking bottle, a spoon, some broken bark, etc. Throughout the day I went about photographing this setup in different light at different times of the day, in shadow, with bounce light, I even did a few using my PC monitors as lights (turned out to be a pretty quick way of getting coloured light sources thanks to gimp). Here are some shots I took:


The main thing I wanted to try out here was to find out how to correctly shade shadowed objects. By taking two pictures at the same time of day - one in full sunlight and the other in shadow - I was going to use a multiply layer to paint on the lit one until it matched the shadowed one, switch the layer to normal and I'd have the answer to solve all my problems right?

Here's the finished multiply layer over the apple in the light (left). I've added in the background from the shadowed shot for better comparison. Pretty similar?


The interesting part is when we change the layer mode to normal, that will reveal the colours that went into the realistic shadowed effect.


Perhaps I shouldn't have been so shocked, but this was an awesome moment. It's basically a dull chrome ball right? All the colours there and their values are a pretty good representation of the colours around my setup on the day of the shot.

I'm still not done with this, but I'm pretty sure that to get a realistic effect you work out the reflection on the object, however, I'm almost certain it's not really a reflection effect, it's more like like: for every point on the object the light must be calculated individually and the brightness and angle from that point must be taken into account.


Above, for the point chosen, light blue would be the main light source (assuming the object is in shadow). The sky is going to be brighter than the ground and the trees quite dark. The grass below would be bright, however it's on a very extreme angle so very little of it would be cast on the selected point.

It's been good though, I always had trouble with interior scenes with harsh artificial lighting, but I now understand it much more, especially how to colour those objects. Even though the colour changes that an object undergoes when in shadow are incredibly complicated studying it has helped me understand how it all works.

Followers